Showing posts with label craft project. Show all posts

Saturday, November 13, 2010

Old Window made Picture Frame

I found several old window frames on Craigslist.  A guy was remodeling a house (flipping it I think), and just wanted them gone, quickly.  I ended up buying three.  I figured I could make something out of them....

I googled, I searched, I pondered, and combined several ideas to make them into what they are now.  I love them, and wish I had bought several more when I had the chance.  Somehow the three that I had have already been spoken for, as Christmas Presents.

First, I used a razor blade to clean up the paint on the glass

Since the integrity of the window no longer mattered, and at some point every pane had been caulked on the outside, and stripped that off too.  (Be careful! It's really easy to break the glass when doing this... trust me-I know!).  This isn't necessary, but I found out that by cleaning up this caulk, I could get better placement of the paper (because this is the side you mod podge the paper to). 

Clean, clean, clean... I love the blue stuff!

Cut your paper to get it to fit

(see how without the caulk, it fits in there almost perfectly!)

By using a spong brush, it makes for nice even coat. 


Make sure you get the mod podge everywhere, so the paper sticks good.

I usually smooth out the glue, it makes me feel better

Press your paper on from one side to the other, doing your best to smooth out bubbles... but let's face it, bubbles happen

I used the edge of my (chipped) razor blade, to pop the bubble and let the air out. 
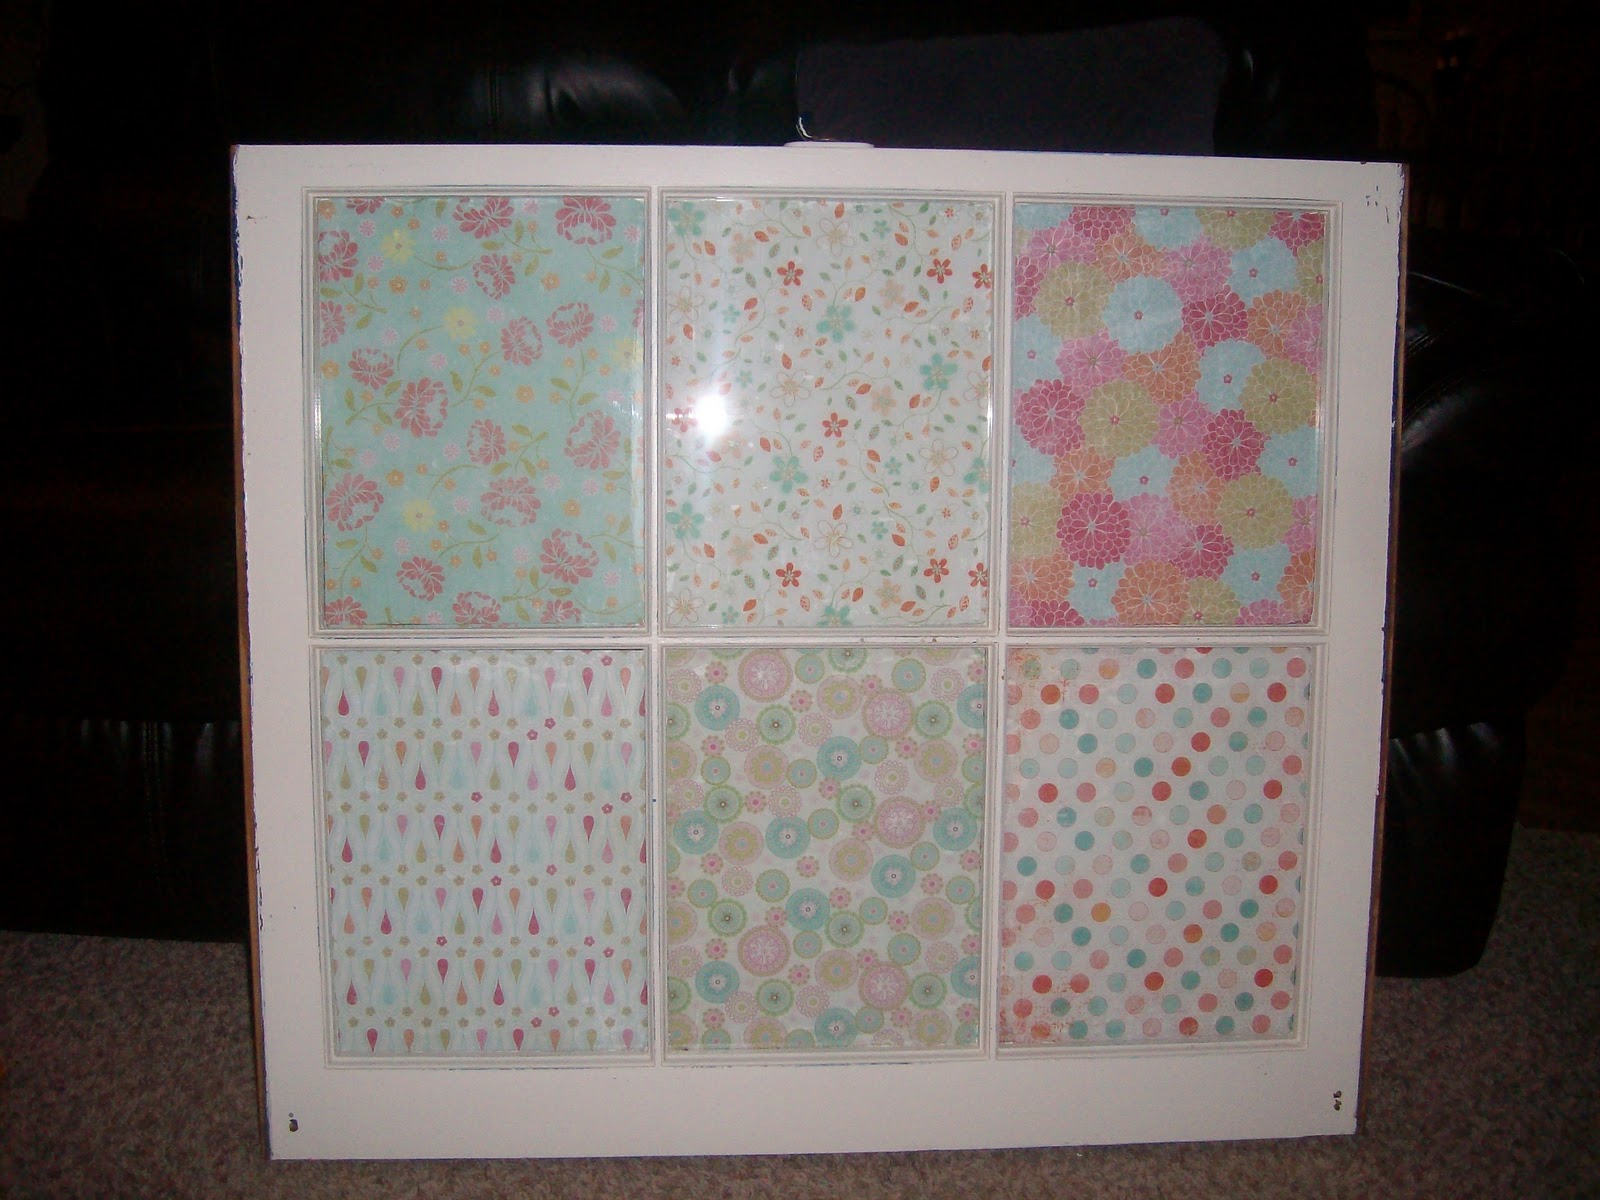
This is the completed one for my Mom

I'm eventually going to make the magnets pretty, but for now, they are a black dot...
I was going to put a strip of magnet on the back, but they weren't strong enough, so I just put another magnet circle on the back, so they hold on to each other through the glass.
The paper choices up close for my Mom's
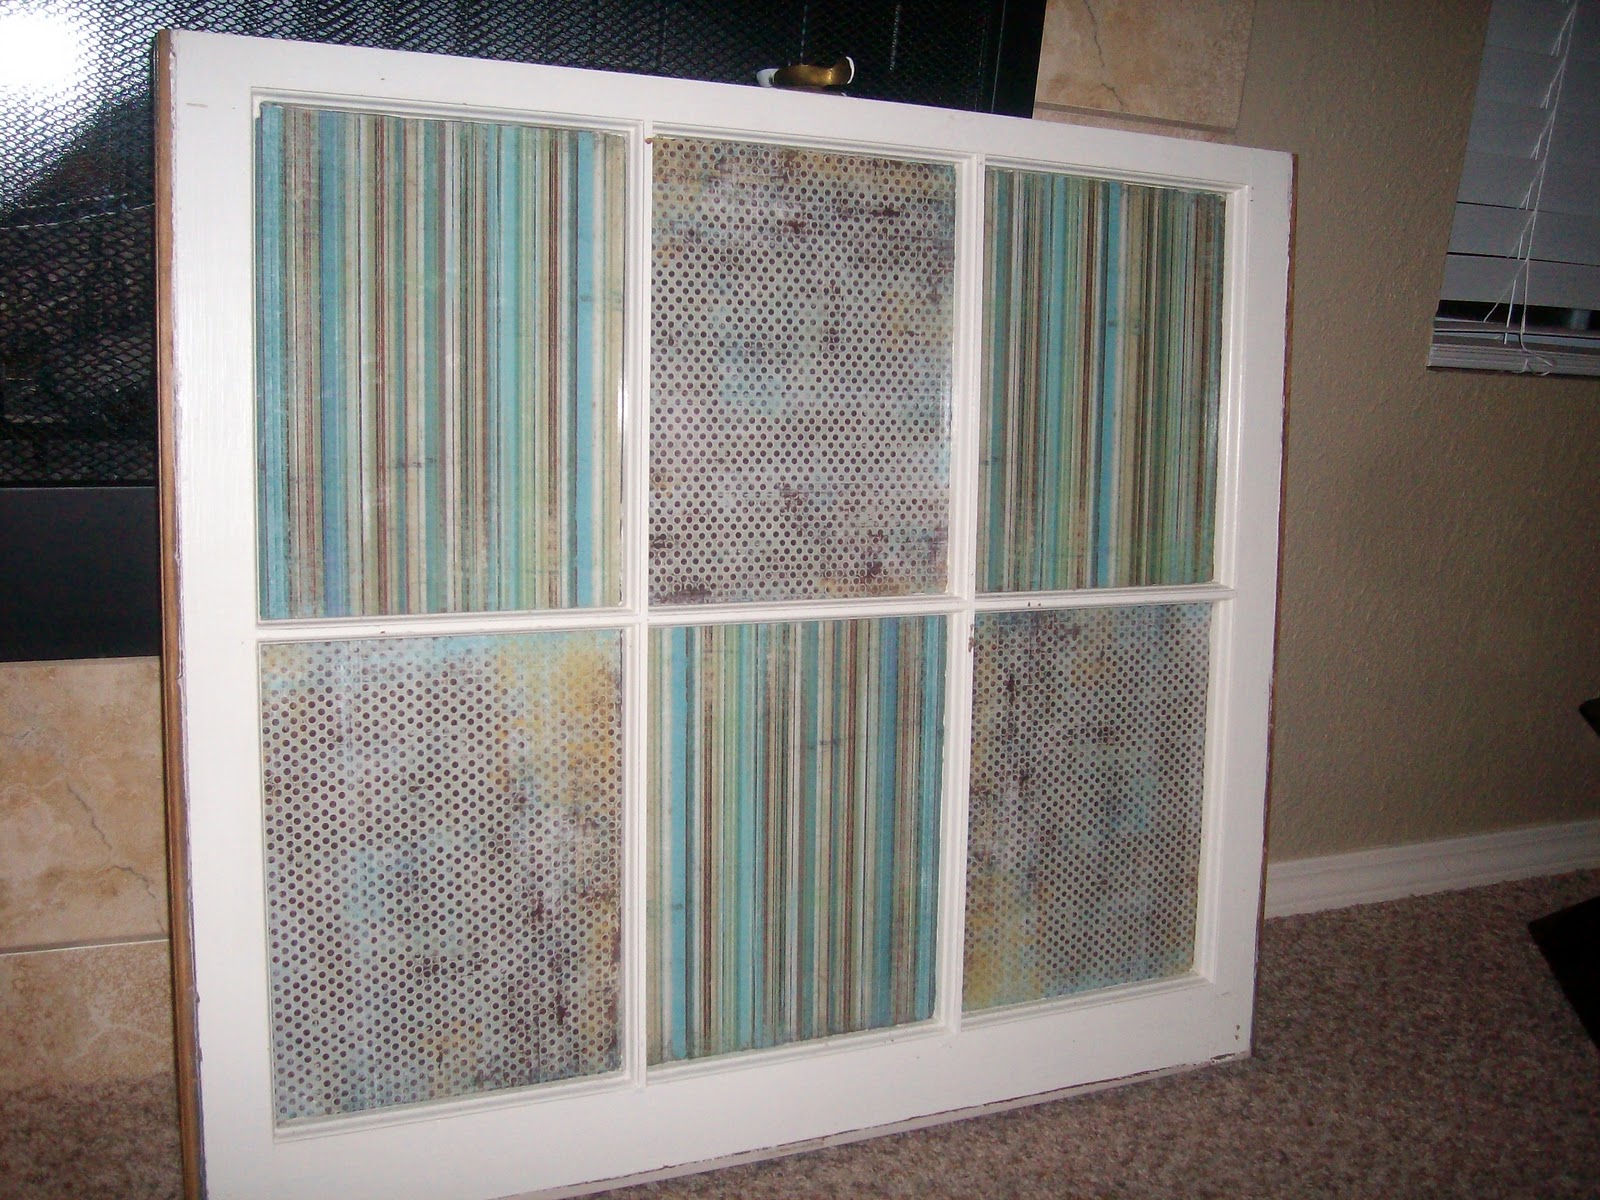
My second one, for my best friend.  She picked the paper to match her living room colors.

I love the stripes!

Linking up here:

Join  us Saturdays at tatertotsandjello.com for the weekend     wrap    up           party!


Photobucket


toolsareforwomentoo


Mod Podge Letters

We have two ADORABLE twin girls that live next door.  Seriously, cute.as.a.button.

Their Mom's pretty amazing too, but not so crafty... so her best friend from high school and I are re-doing their rooms (is it re-doing if they were never 'done'?).

One girl is always in pink, and one in purple, so it just seemed likely that those are the colors we are going to use. 

We picked out two pieces of scrapbook paper that had paisley on them.


Even though the wood letters are mostly smooth, sand the edges.

Make sure that you paint the entire back of your letter, and all the sides.
I had picked a brighter pink, but when I laid the paper over it, it was to much of a contrast (see the color on the wax paper). 

Trace your letter on the scrapbooking paper, and cut INSIDE the line,
because you want it a bit smaller then the letter.
It's not important to paint the front of the letter completely, it will be covered.  Mod Podge the front of the letter, I use a sponge brush for a smooth coat.
Once you have put the Mod Podge on, carefully lay the paper on the top of the letter.
{don't do what I did, and put a 1/4 inch gap... its not so easy to peel the paper back up}
I start at the top, and rub side to side all the way down to make sure it adhere to the wooden letter.  It also helps minimize the bubbles (but if you get them, use the edge of a razor blade to 'pop' them, then push the air out).

If you have some extra over the edge, you can cut it (if your careful and have small scissors), or gently sand it off, I found that if you go from the front to the back, in only that direction, it works best, and you don't risk pulling the paper up off the letter.
Do you like my two helpers (this was the state of my coffee table for over a week with several different projects... My ocd husband was on the edge!)
This is close to the ending idea, I got these cute frames at the local Goodwill, and will do something with them.  We're going to make shelves for each of the girl with their initial and a photo. 

Join  us Saturdays at tatertotsandjello.com for the weekend     wrap    up           party!